Get Home Bag Checklist: What to Pack for the Walk Home
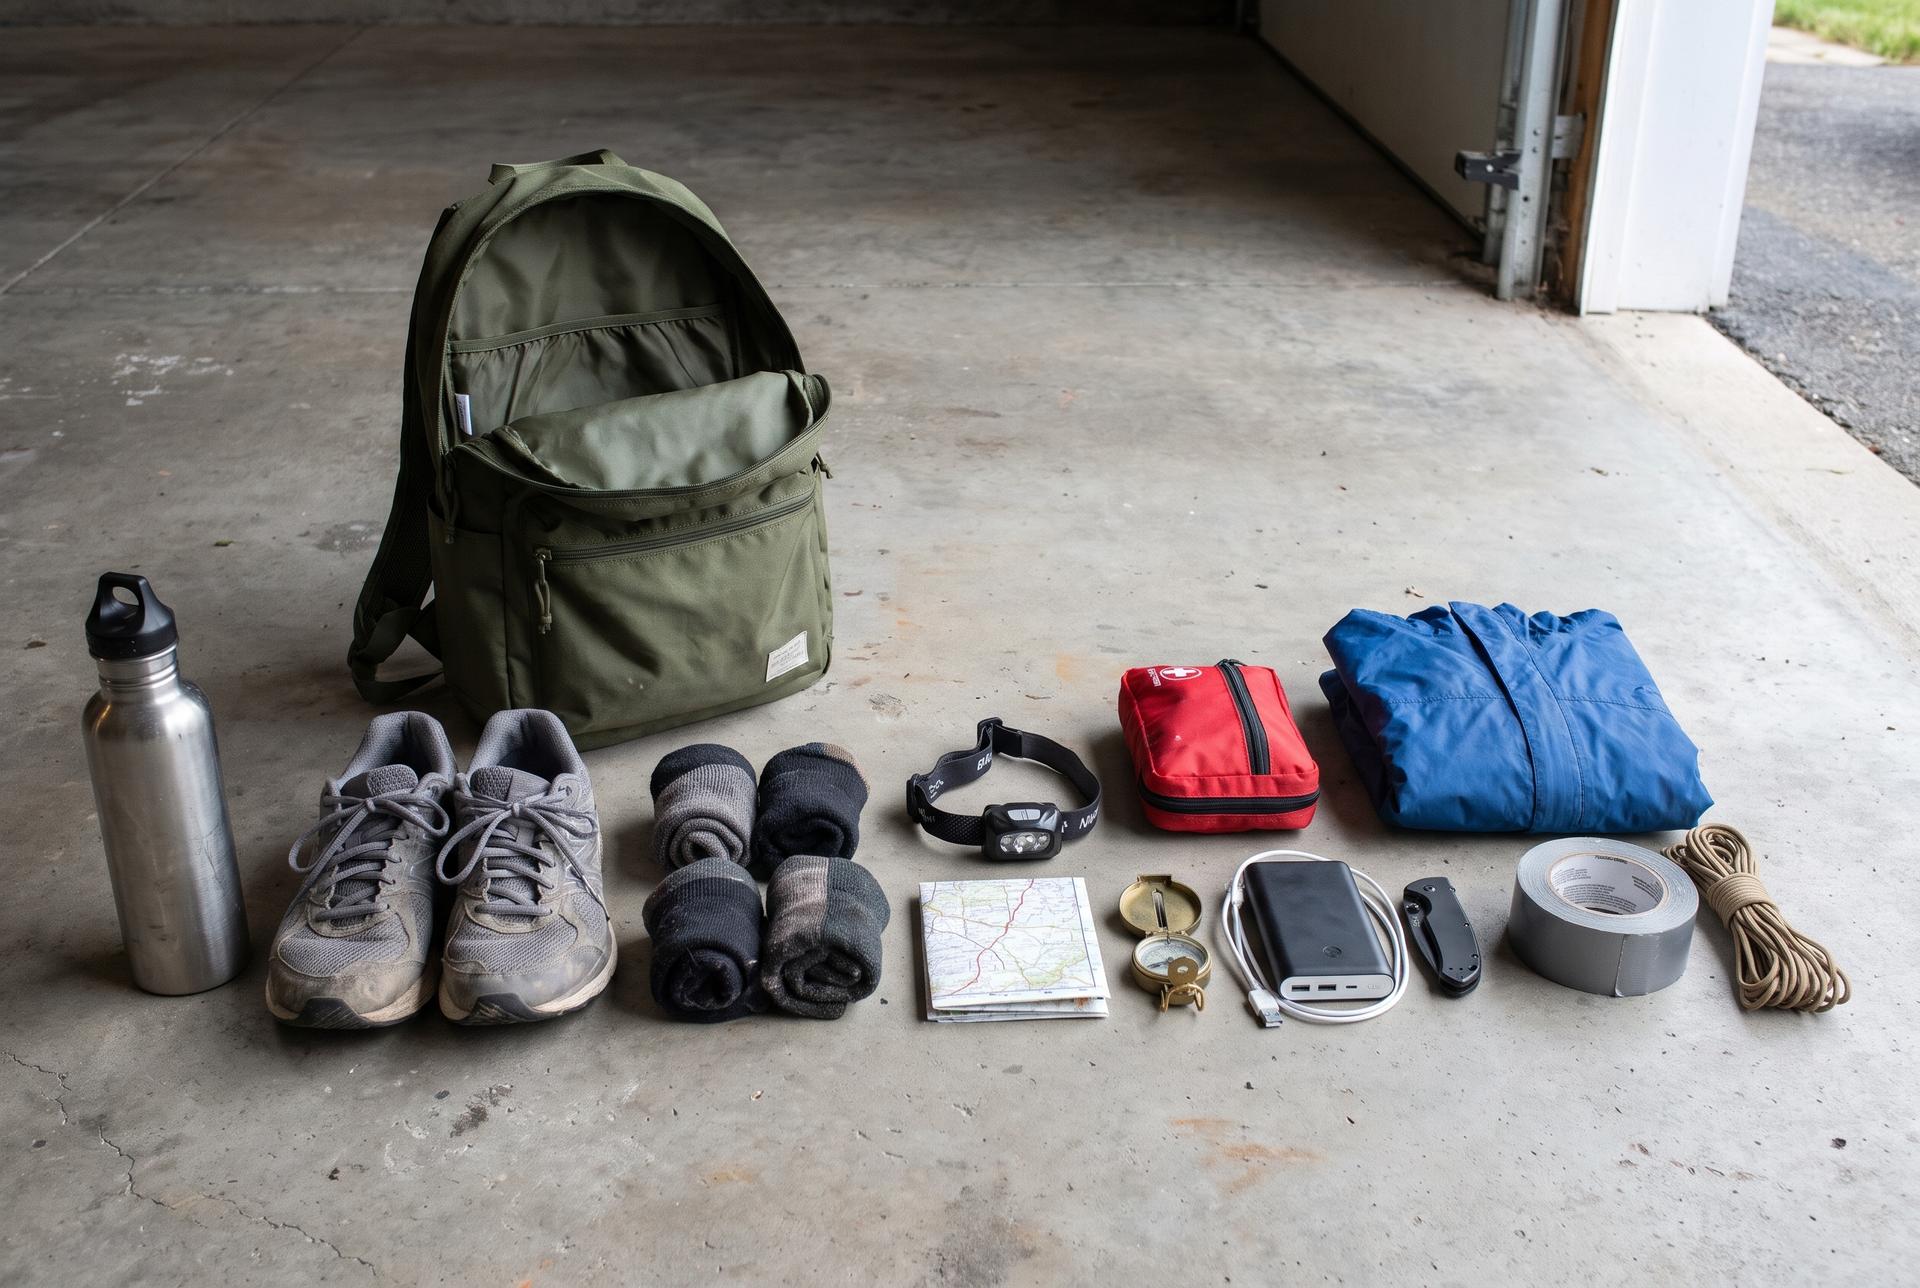
A get home bag carries you on foot from wherever you happen to be back to your front door, usually in a day or less. That single job sets the whole packing list: water, footwear, light, a way to navigate, a small first aid kit, weather protection and enough food to keep you moving. Everything else is optional weight.
The mistake most people make is building a small camping kit instead. A get home bag is not a survival camp in a bag. It is walking kit. If an item does not help you cover distance safely, keep your feet working, or handle a problem you would actually meet between your workplace and your house, it probably does not belong.
Below is the full checklist, broken down by category, with how to size the bag to your real commute, what to store where, and how to keep it current so it still fits when you need it.
Get Home Bag vs Bug Out Bag: The Difference That Matters
A get home bag moves you toward home. A bug out bag moves you away from home. That reversal changes almost every decision you make about contents and size.
Because the get home bag ends at your front door, it only has to cover hours, not days. You are walking toward your own supplies, your own spare clothes, your own stocked kitchen. So the bag can be small, light and quiet looking. A bug out bag assumes you are leaving and may be living out of it, so it carries shelter, sleep kit, cooking gear and multi-day food.
The other difference is where it lives. A bug out bag usually sits by the door at home. A get home bag lives wherever you are not: in the car boot, under a desk, in a locker at work. It has to survive heat, cold and months of being ignored, and it has to look unremarkable when you carry it through a building.
There is overlap. Both want water, light, a cutting tool and first aid. But if you try to make one bag do both jobs, you end up with a heavy pack you will not want to walk a long way home with. Build the get home bag around walking, and build it separately.
| Get home bag | Bug out bag |
|---|---|
| Job | Reach your front door on foot |
| Typical duration | Hours to about a day |
| Where it is stored | Car, desk, locker, work vehicle |
| Shelter | Rain layer, emergency bivvy at most |
| Food | Snacks that need no cooking |
| Appearance | Plain, low profile |
General planning comparison, not a standard. Adjust to your own commute and household.
Size the Bag to Your Actual Commute
Start with a number, not a product. Open a map and measure the walking distance from your workplace, or the furthest point you regularly travel to, back to your home. Then measure it again on foot in the real world, or at least walk a representative chunk of it in the shoes and pack you plan to use.
Walking speed drops fast once you add a pack, poor footwear, darkness, heat or crowded pavements. Plan for a slower pace than you think, and plan for stopping. A route that looks like a pleasant afternoon on a map can turn into an overnight if a river crossing is closed or a tunnel is shut and you have to detour.
Terrain matters as much as distance. A flat urban walk along pavements is a footwear and water problem. A route with hills, farmland, or a long stretch with no shade or shops is a water, navigation and weather problem. Note the points where you could refill water, and the points where you definitely could not.
Then decide what the bag has to carry. A short walk home in a mild climate might only need a sling bag with water, a light, a small med kit and a rain shell. A long walk that could run into the night and across open ground needs a proper rucksack with a waist belt, more water, warm layers and a headlamp with spare batteries.
| Commute profile | Bag style | What drives the packing list |
|---|---|---|
| Short urban walk, mild climate | Sling or small daypack | Water, footwear, light, small med kit |
| Half day on foot, mixed urban and suburban | Daypack with a chest strap | Water plus a filter, snacks, rain layer, headlamp |
| Full day, rural or hilly, could run into darkness | Rucksack with waist belt | Layers, navigation, more water, light and spare power |
| Cold season anywhere | One size up from the above | Insulation, gloves, hat, emergency bivvy |
A planning guide based on load and duration, not a manufacturer specification.
Choosing the Pack Itself
Three things decide whether a pack works as a get home bag: it carries comfortably loaded, it does not look like a statement, and it fits where you store it.
Carry comfort comes from the harness, not the fabric. Padded shoulder straps spread the load, a sternum strap stops the straps sliding off your shoulders when you move quickly, and a waist belt transfers weight off your shoulders onto your hips once the load gets meaningful. Convertible duffle packs with stowable straps and a sternum strap are a reasonable middle ground if the bag also has to travel as luggage. For anything you expect to walk a full day with, a real hip belt earns its place.
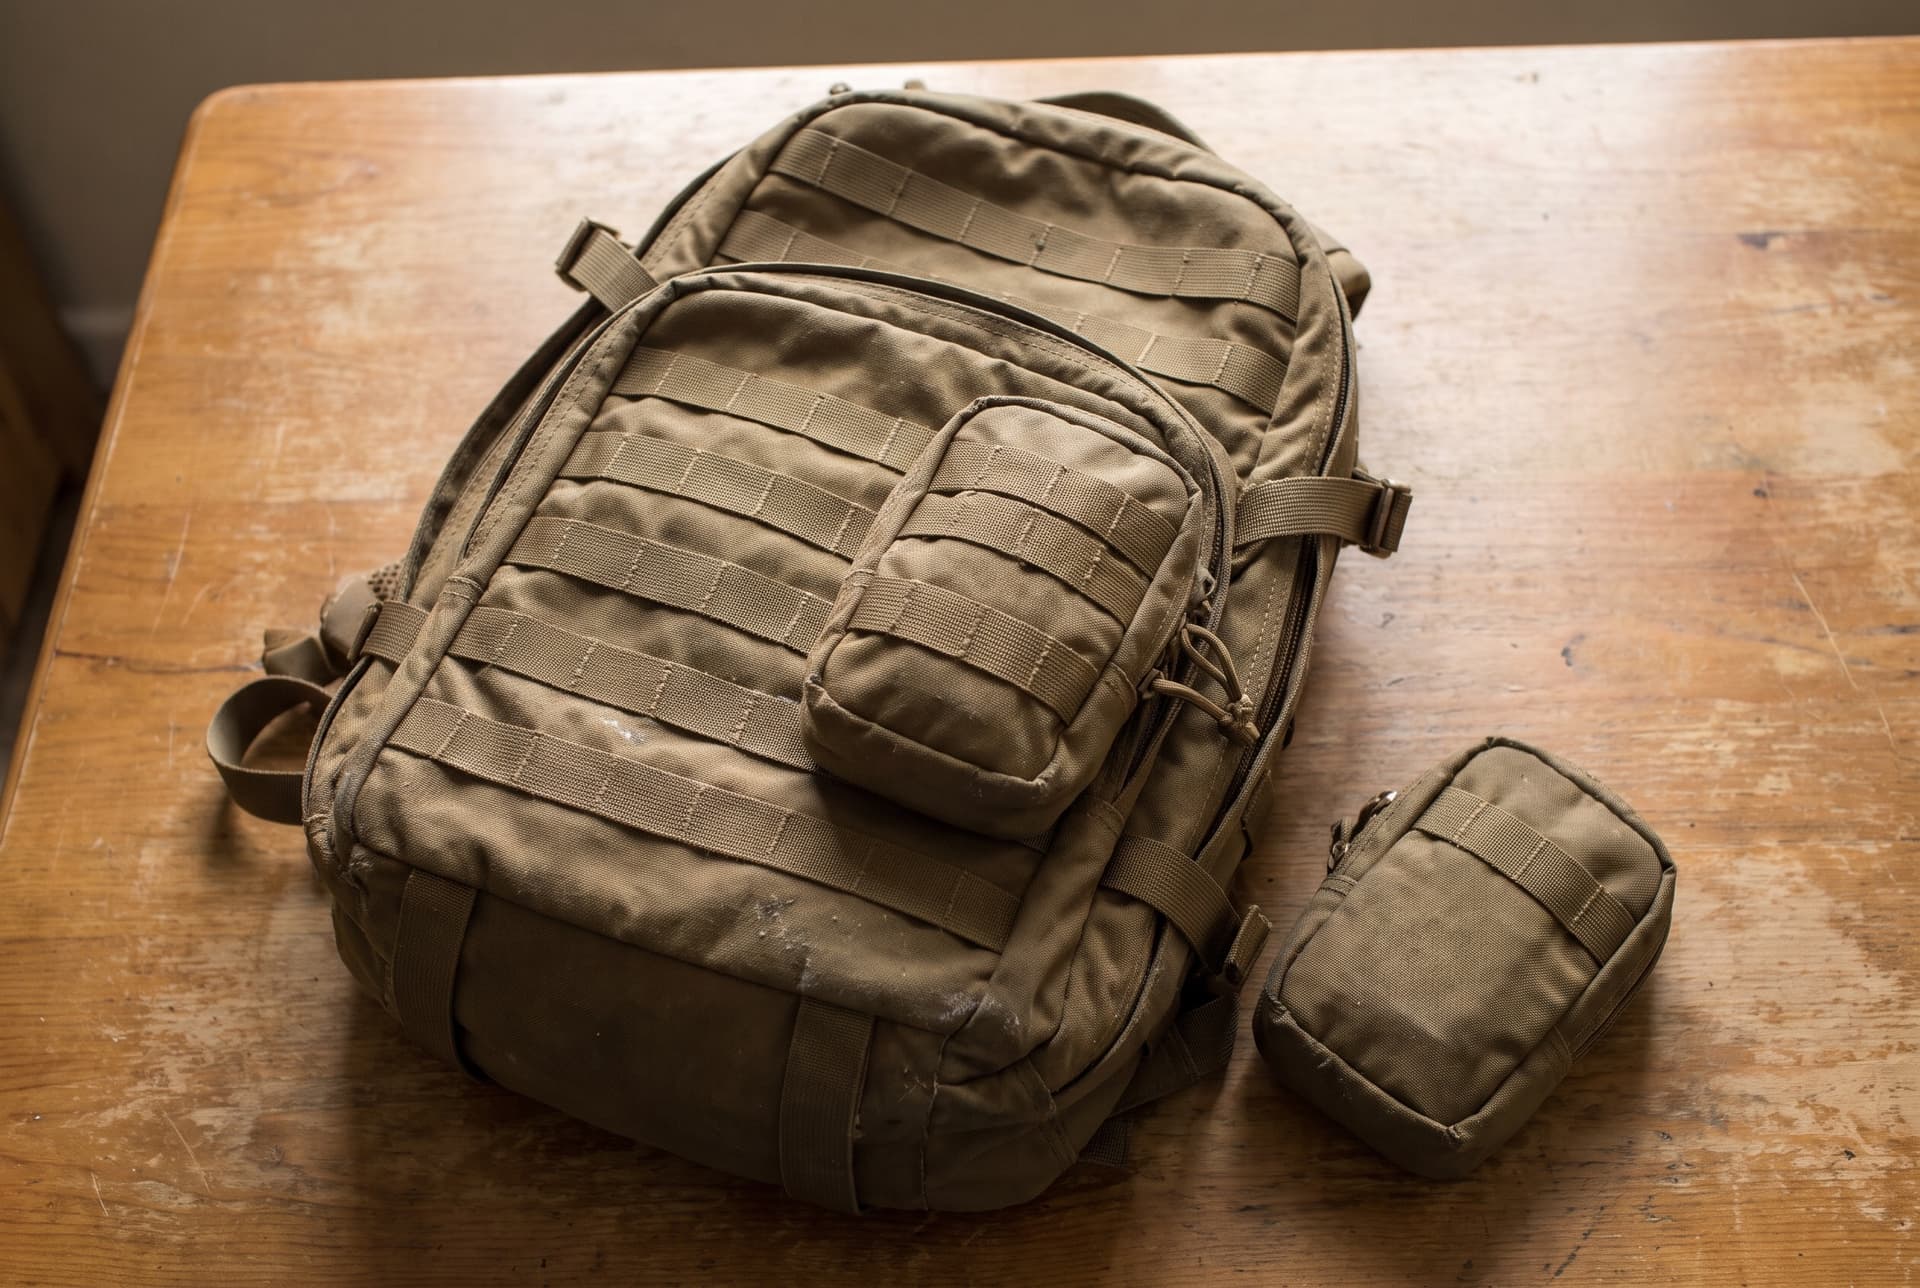
Low profile matters more than people expect. A plain pack in a muted colour draws no attention in an office corridor, on a train, or walking through a car park at night. Heavy webbing and patches do the opposite. If you want modular attachment points for pouches, a bag with discreet MOLLE panels gives you the option without shouting about it.
Check the practical details before you buy: zips you can work with cold or gloved hands, an external water bottle pocket you can reach without taking the pack off, a lining that will not soak through in a shower, and a shape that stands up on its own when you set it down. Rugged 600 denier polyester with a coated lining is a common, serviceable build for packs in this class.
The Core Checklist
This is the part most lists get wrong by adding too much. Work through these categories in order of how likely you are to need them on a walk home.
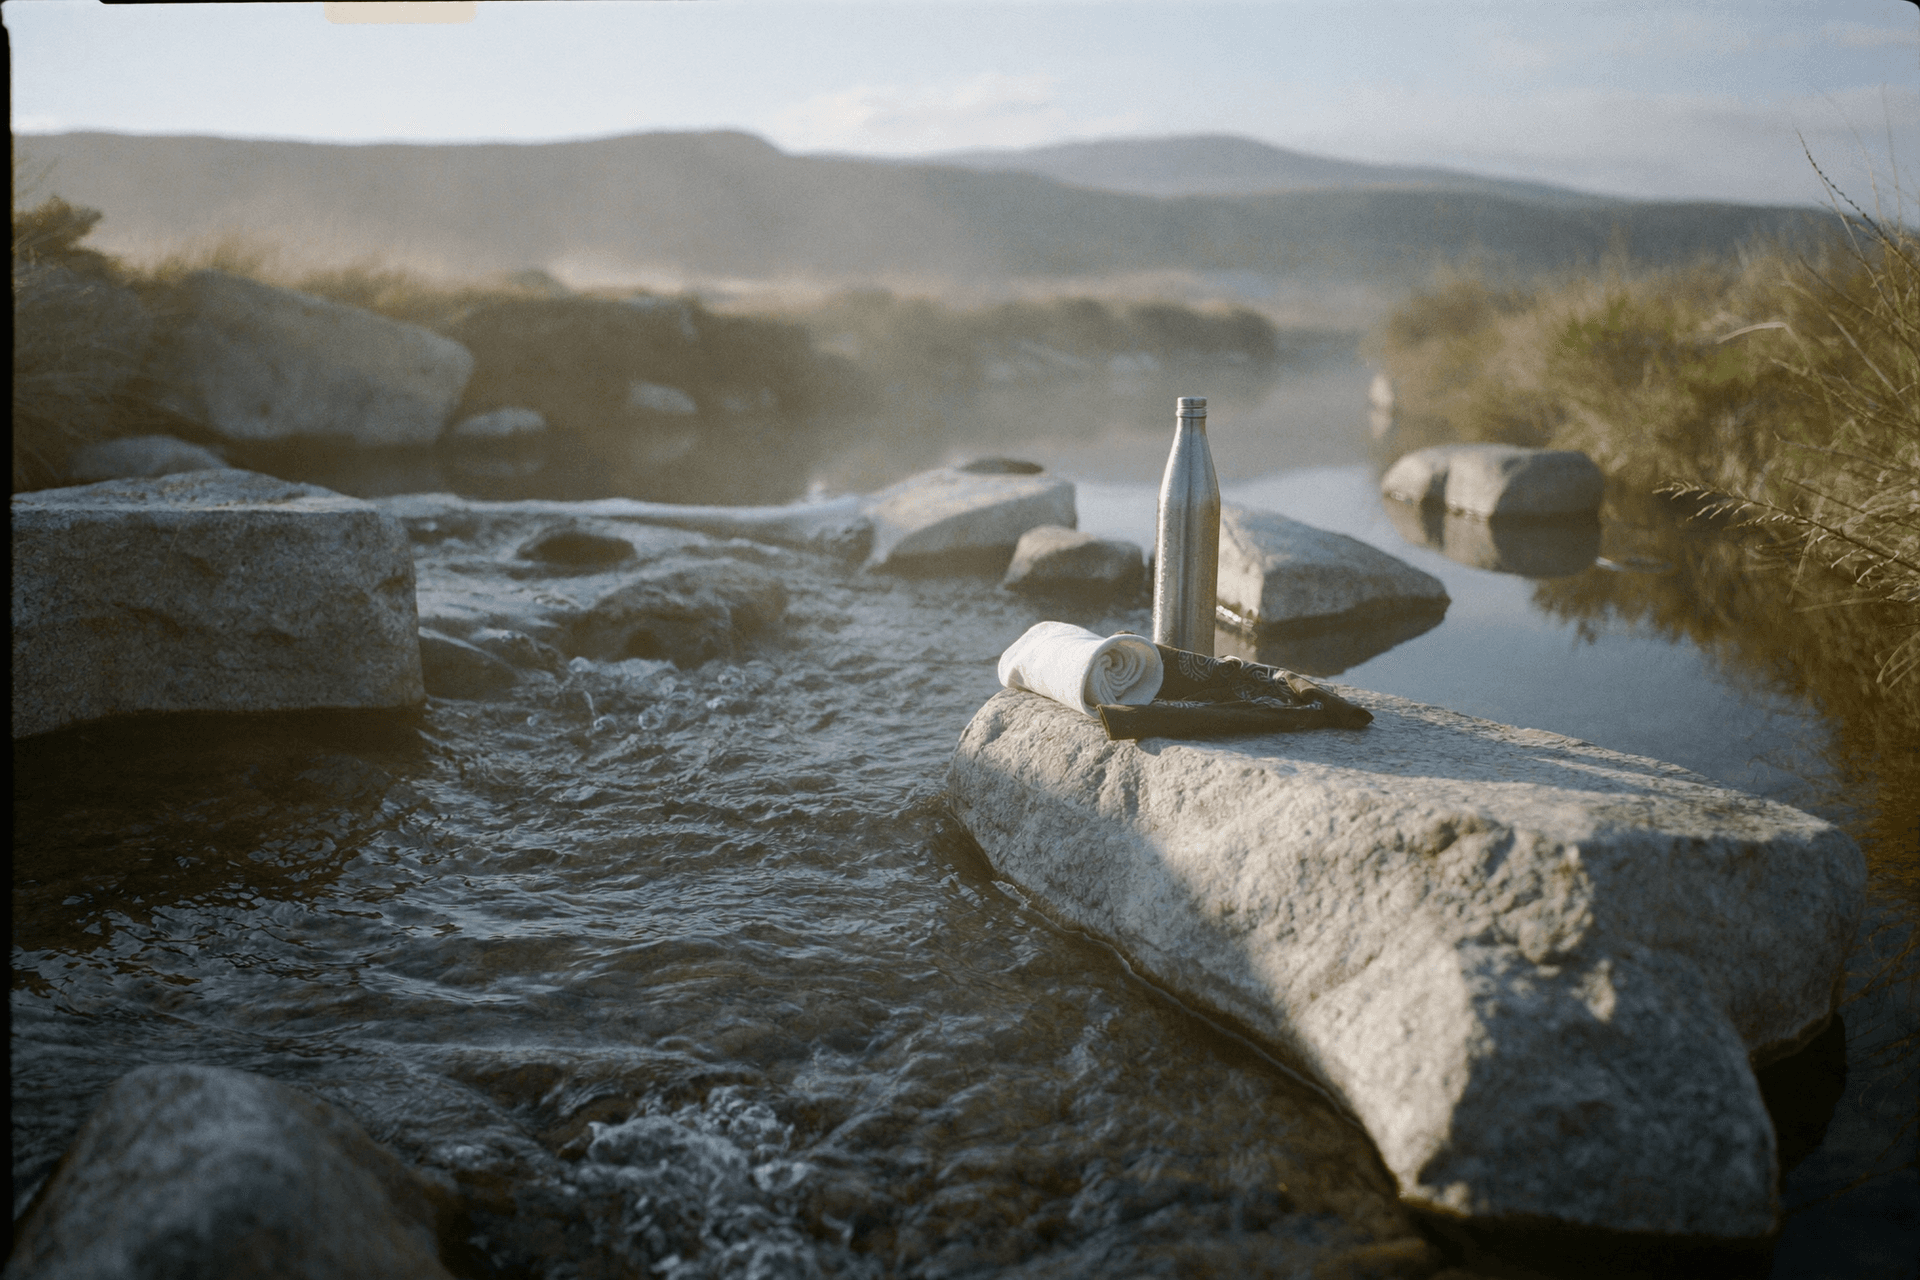
Water comes first. Carry what you can drink plus a way to make more. A hard bottle you can refill, a collapsible spare, and a compact filter or purification tablets cover most routes. If your route crosses a long stretch with no taps, carry more water rather than relying on finding a source.
Footwear and socks come second, and they get their own section below, because blistered feet end walks faster than anything else on this list.
Light is third. A headlamp keeps your hands free, which matters for reading a map, climbing a fence or helping someone. Carry a spare set of batteries, taped together or in a small sealed pouch, and check them when you check the bag.
Navigation is fourth. A paper map of your area and a baseplate compass work when a phone does not, and they do not care about battery. Mark your home, your workplace, your main route and two alternates. A power bank and the right cable for your phone belong here too, since your phone is still the fastest way to check a closure or tell someone where you are.
A cutting tool is fifth. A folding knife or a small fixed blade handles cord, packaging, tape and improvised repairs. Keep it sharp, and keep it legal: check the knife laws that apply where you live and travel, and check your employer's policy before you stash one in a desk drawer.
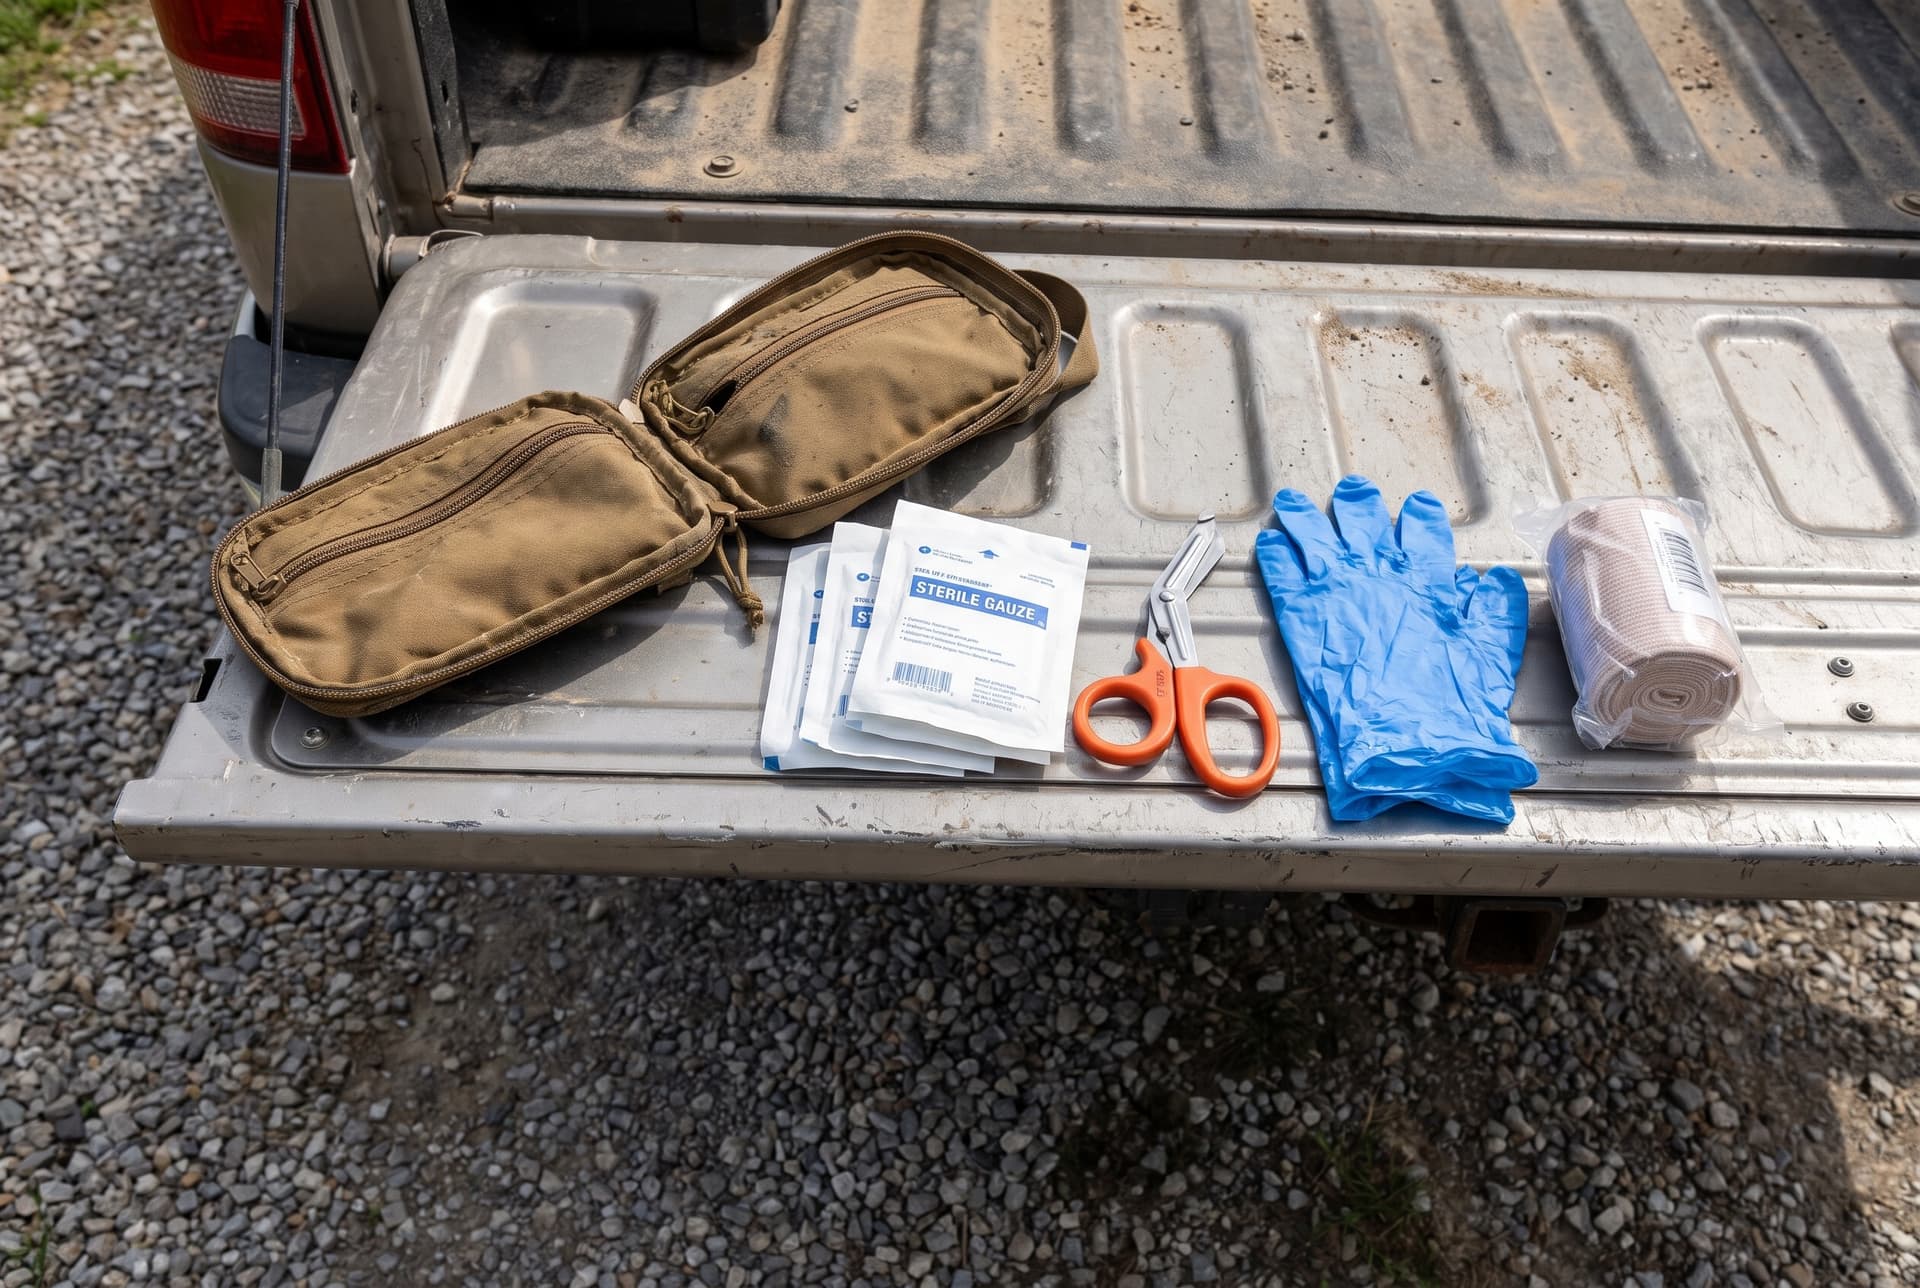
First aid is sixth. For a walk home, the realistic problems are blisters, cuts, grazes and a turned ankle. Blister plasters, adhesive dressings, a roll of tape, gauze, gloves, tweezers and any personal medication cover the common cases. If you want trauma capability on top of that, build or buy a dedicated pouch and get hands-on training from a recognised provider: carrying kit you have not been taught to use is not a plan.
Finally, the small stuff that makes the rest work: a few metres of cord, a roll of tape, a lighter or ferro rod, a whistle, cash in small notes, a printed contact card, a dust mask, a couple of heavy-duty bin liners and food that needs no preparation. Nuts, bars and dried fruit are fine. Nothing you have to cook.
| Category | What goes in | Why it earns the weight |
|---|---|---|
| Water | Full bottle, collapsible spare, filter or tablets | You will drink more walking than you expect |
| Feet | Broken-in shoes, two pairs of socks, blister plasters | The most common reason a walk stops |
| Light | Headlamp, spare batteries, small backup light | Hands free for maps, gates and gear |
| Navigation | Paper map, compass, power bank and cable | Works when the phone is flat or the signal is gone |
| Cutting tool | Folding knife or small fixed blade | Cord, packaging, repairs |
| First aid | Blister and wound care, gloves, tape, personal meds | Handles the injuries that actually happen on foot |
| Weather | Rain shell, warm layer, hat, gloves | Being wet and cold slows you down fast |
| Admin | Cash, contact card, whistle, cord, tape, lighter | Small items that solve disproportionate problems |
A general packing framework. Adapt it to your route, climate and any medical needs.
Clothing and Footwear to Keep in the Bag Year Round
The single highest-value item in a get home bag is a pair of shoes you have already walked in. Office shoes, heels and work boots designed for standing still will not carry you a long distance. Keep a broken-in pair of trainers or light hiking shoes with the bag, not a new pair still in the box.
Pack two pairs of socks in a sealed bag. Changing socks halfway through a long walk is one of the few small luxuries that genuinely improves your pace. Add blister plasters and a roll of tape, and treat a hot spot the moment you feel it rather than when it becomes a blister.
For clothing, think layers rather than one heavy garment. A light insulating layer, a waterproof shell with a hood, a hat and a pair of gloves cover most conditions and compress small. In hot climates, swap the insulation for sun protection: a brimmed hat, long sleeves and extra water.
Keep clothing in a dry bag or a sealed kit bag inside the pack. Gear that lives in a car boot through a wet winter will find any gap in the waterproofing, and a change of dry clothes is worthless if it got damp six weeks ago.
Where to Store It: Car, Desk and Locker
A get home bag only works if it is where you are. For most people that means the car, since the car goes everywhere you go. A boot or cargo area is the usual spot, out of sight and out of direct sun.
Heat is the main enemy of a car-stored bag. A parked car in summer gets far hotter than the air outside, which degrades adhesive dressings, melts chocolate into everything, shortens battery life and can damage some medications. Keep anything heat-sensitive in a small insulated pouch, check it more often in summer, and accept that car-stored batteries and medical consumables will need replacing sooner than the ones at home.
Cold does its own damage. Water freezes and splits bottles, battery capacity drops, and anything liquid can burst. Leave a little headroom in water bottles and check them after the first hard freeze.
At work, a desk drawer or locker is fine if it is yours and you can access it outside normal hours. Before you stash anything, read your workplace policy. Rules on knives, tools and what can be kept on site vary by employer and by jurisdiction, and some buildings are regulated more tightly than others. If a workplace bag has to be contents-limited, split the kit: a compliant bag at the desk, the rest in the car.
Organising the Load With Pouches and Dry Storage
Loose gear in a single compartment is slow to search and quick to break. Group items by job, put each group in its own pouch or kit bag, and keep the layout the same every time so you can find things in the dark.
A sensible split is four or five pouches: first aid in a clearly marked one, electronics and batteries in a sealed one, fire and light together, food in another, and clothing in a dry bag. Welded, water-resistant kit bags made from polymer-infused fabric are good for the things that must stay dry, like a spare phone cable, matches and documents.
Put weight where it belongs. Keep heavy items close to your back, against the panel nearest your spine. Light bulky items go at the bottom and outside. Anything you need without stopping, such as water, a light and snacks, goes in a lid pocket, a hip belt pocket or a side pocket.
If your pack has MOLLE webbing, you can add pouches outside for the items you want fast. Weave them on properly so they do not sag, and keep the outside of the bag tidy. Dangling gear snags on doors, fences and car boots.
Keeping It Current: A Seasonal Check
A get home bag goes stale quietly. Batteries self-discharge, food expires, clothing stops fitting, and the route you planned around changes when a bridge closes or you move jobs. Put a check in the calendar four times a year, at the change of seasons, and treat it as a short job.
Empty the whole bag onto the floor. Check expiry dates on food, water treatment and anything medical. Test the headlamp and the backup light, and swap batteries on a schedule rather than waiting for them to fail. Charge the power bank and confirm the cable still fits your current phone.
Swap the clothing for the season. Winter means insulation, hat and gloves. Summer means sun protection and more water capacity. This is also when you check the shoes still fit and that the laces have not perished.
Last, walk part of the route. Not all of it, just a leg you have not walked recently. You will find out whether the shoes work, whether the pack rubs, and whether the shortcut you drew on the map is actually a fenced building site. That walk is worth more than any item you could add to the bag.
Packs and kit bags
Bags and convertible packs that can hold a get home load.
Weather-resistant storage for the small stuff
Sealed kit bags for batteries, cables, documents and anything that has to stay dry.
Common questions
- What should I pack in a get home bag?
- Water plus a filter or tablets, broken-in shoes and spare socks, a headlamp with spare batteries, a paper map and compass, a power bank, a folding knife, a small first aid kit with blister care, a rain shell and a warm layer, no-cook snacks, cash, cord and tape. Everything else is optional. Build around walking, not camping.
- How is a get home bag different from a bug out bag?
- A get home bag takes you to your front door, usually within a day, so it is light and built around walking. A bug out bag takes you away from home for several days, so it carries shelter, sleep kit and cooking gear. The get home bag lives in your car or at work. The bug out bag lives at home.
- How big should a get home bag be?
- Size it to your commute, not to a number. A short urban walk in a mild climate fits in a sling bag or small daypack. A half-day walk wants a daypack with a sternum strap. A full day across rural or hilly ground, especially in winter, wants a rucksack with a proper hip belt so the weight sits on your hips.
- Where should I keep my get home bag?
- In the vehicle you use most, since that goes where you go. A boot or cargo area keeps it out of sight. Heat and cold both degrade batteries, adhesives and anything liquid, so check a car-stored bag more often. A desk drawer or locker works at work if you can access it out of hours and your workplace policy allows the contents.
- Can I keep a knife in a bag at work?
- Check first. Check the knife laws that apply where you live and travel, and check your employer's policy on top of that. If your workplace limits what you can store, split the kit: keep a compliant bag at the desk and the rest in the vehicle.
- How often should I check a get home bag?
- Four times a year, at the change of seasons. Empty it out, check expiry dates on food and medical items, test lights, swap batteries, recharge the power bank, confirm the phone cable still fits, and change the clothing for the season. Once a year, walk part of your planned route in the shoes and pack you intend to use.