 The Prep Bible.
Sharpening Stones for Knives: How to Choose and Use One
A sharpening stone removes a thin layer of steel from each side of the blade until the two sides meet in a clean line. That line is the edge. Everything else - grit numbers, stone materials, angle guides - is just a way of controlling how fast the steel comes off and how smooth the finish is when you stop.
If you want one stone for camp and kitchen, a medium grit covers most work. If you want to recover a chipped or rounded edge as well, you need a coarse stone too, which is why multi-stone kits exist. A carbide pull-through sharpener is a different tool with a different job: it scrapes a working edge back onto a dull blade in seconds, with no skill required and no control over the result.
This guide covers what each stone type does, how to read grit numbers, how to find and hold an angle, the stroke itself, and how the same skill transfers to fixed blades, hatchets and camp tools. If you specifically want the folding knife walkthrough, the store already has one at https://theprepbible.com/guides/how-to-sharpen-a-folding-knife.
What a Sharpening Stone Actually Does to an Edge
A knife edge is the meeting point of two ground surfaces, called bevels. When a knife goes dull, the very apex of that meeting point has rolled over, worn round or chipped out. No amount of polishing fixes a rounded apex. You have to grind both bevels back until they meet again at a point.
A sharpening stone is an abrasive block that does that grinding. Drag the bevel across it at a consistent angle and the stone cuts a fresh flat surface. Do the same on the other side and the two fresh surfaces meet. That is a sharp knife.
You know you have reached the apex when a burr appears: a thin wire of displaced steel that folds over to the far side of the edge. Run a thumb across the blade, away from the edge, not along it, and you will feel it catch. The burr is the single most useful feedback a sharpener gets. Raise it along the whole length of one side, raise it on the other, then reduce it with lighter strokes and finer grit until it falls away.
A honing rod, by contrast, barely removes steel. It pushes a slightly rolled edge back into line. That is why a rod revives a knife for a while and then stops working: the apex has worn away, and only abrasive can bring it back.
Stone Types: Water, Oil, Diamond, Ceramic and Carbide
Water stones and oil stones are the traditional bench stones. Both use bonded abrasive particles, usually aluminium oxide or silicon carbide, held in a binder that wears away as you work so fresh grit keeps surfacing. Water stones cut quickly and feel pleasant to use, but they dish out of flat over time and need flattening. Oil stones are harder, cut more slowly and hold their shape longer. Either one needs its lubricant, water or honing oil, to float the swarf clear so the surface does not clog.
Diamond stones are a steel or plastic plate coated in industrial diamond. They cut fast, stay flat, work dry or with a splash of water, and handle hard modern steels that give bonded stones trouble. Many sharpeners prefer diamond for hard powder steels and for tool steels like D2. Expect the cut to feel aggressive when new and settle down after break-in.
Ceramic is the fine end of the range. Ceramic rods and stones remove very little steel and are used to refine an edge, touch up a working knife between full sharpenings, and clean up the inside scallops of serrations. They work dry and wipe clean.
Tungsten carbide in a pull-through sharpener is not a stone at all. Two hardened carbide blades sit in a V and shear steel off both sides as you draw the knife through. It is fast and needs no technique. It also removes a lot of metal and leaves a coarse, slightly torn edge. Used occasionally on a working knife it is genuinely useful. Used weekly on a knife you care about, it eats the blade.
Grit Numbers Explained: Repair, Sharpen, Finish
Grit numbers describe how large the abrasive particles are. Lower numbers mean bigger particles, faster cutting and a rougher surface. Higher numbers mean finer particles, slower cutting and a smoother finish. Be aware that grit scales are not standardised across regions and materials, so a number on a Japanese water stone and the same number on a diamond plate do not necessarily cut alike. Treat the numbers as a ranking within one maker's range, not an absolute measure.
In practice you only need three jobs covered: repair, sharpen, finish. Repair means coarse abrasive to remove chips or reset a bevel that has gone round after years of use. Sharpen means the medium grit that does the actual apex forming, and this is where most of your time is spent. Finish means a fine grit to take the scratch pattern down and clean up the burr.
Skipping grits wastes time rather than causing harm. If you start coarse, you leave deep scratches that the next stone must remove. Going from very coarse straight to very fine means grinding away those deep scratches with a stone that was never meant to do it. Move up in steps you actually own and do not worry about owning every step in between.
What finish do you want at the end? A medium finished edge with a little tooth bites into rope, hide and cardboard better than a polished one. A polished edge slices cleanly through soft material and looks impressive. For camp and field work, stopping at medium or fine is usually the more useful choice.
| Job | Rough grit band | What it is for | How it feels |
|---|---|---|---|
| Repair | Coarse / extra coarse | Chips, broken tips, resetting a badly rounded bevel | Removes steel fast, heavy grey swarf |
| Sharpen | Medium | Forming the apex and raising a burr on a normally dull knife | Steady cut, this is where most strokes happen |
| Finish | Fine / extra fine | Removing the burr, refining the scratch pattern | Light cut, edge starts to look even |
| Maintain | Extra fine ceramic or strop | Touch-ups between sharpenings, serration scallops | Almost no steel removed |
Grit bands are relative and vary by maker, region and abrasive type. Match the job to the stones you own rather than chasing a specific number.
Picking Your Angle and Actually Holding It
Angle is per side, measured from the face of the stone up to the blade. Add both sides together and you get the included angle, which is what manufacturers often quote. A shallower angle slices better and dulls sooner. A steeper angle resists damage and feels less keen. Fine slicing knives live at the shallow end, chopping and hard-use blades at the steep end.
The simplest approach is to match the angle already on the knife rather than invent one. Colour the bevel with a marker, take two or three light strokes, and look at where the ink went. Ink gone from the shoulder only means you are too shallow. Ink gone right at the edge only means you are too steep. Ink gone evenly across the whole bevel means you have found the factory angle. This takes a minute and saves half an hour of grinding at the wrong angle.
Holding that angle is the actual skill. Lock your wrist, move from the shoulder and elbow, and keep your eyes on the gap between the spine and the stone rather than on the edge. Some people find it easier to raise the spine onto a rough spacer and then keep that same gap, though the angle a given spacer produces depends on how tall the blade is. Angle guides and guided kits do the same thing mechanically, which is why preset systems suit anyone who sharpens rarely.
Consistency beats precision. An edge sharpened at a steady, slightly wrong angle will be sharp. An edge sharpened at a wandering, roughly correct angle will be rounded and blunt. Pick a number, hold it, stop worrying about the degree.
Step by Step: Sharpening a Knife on a Stone
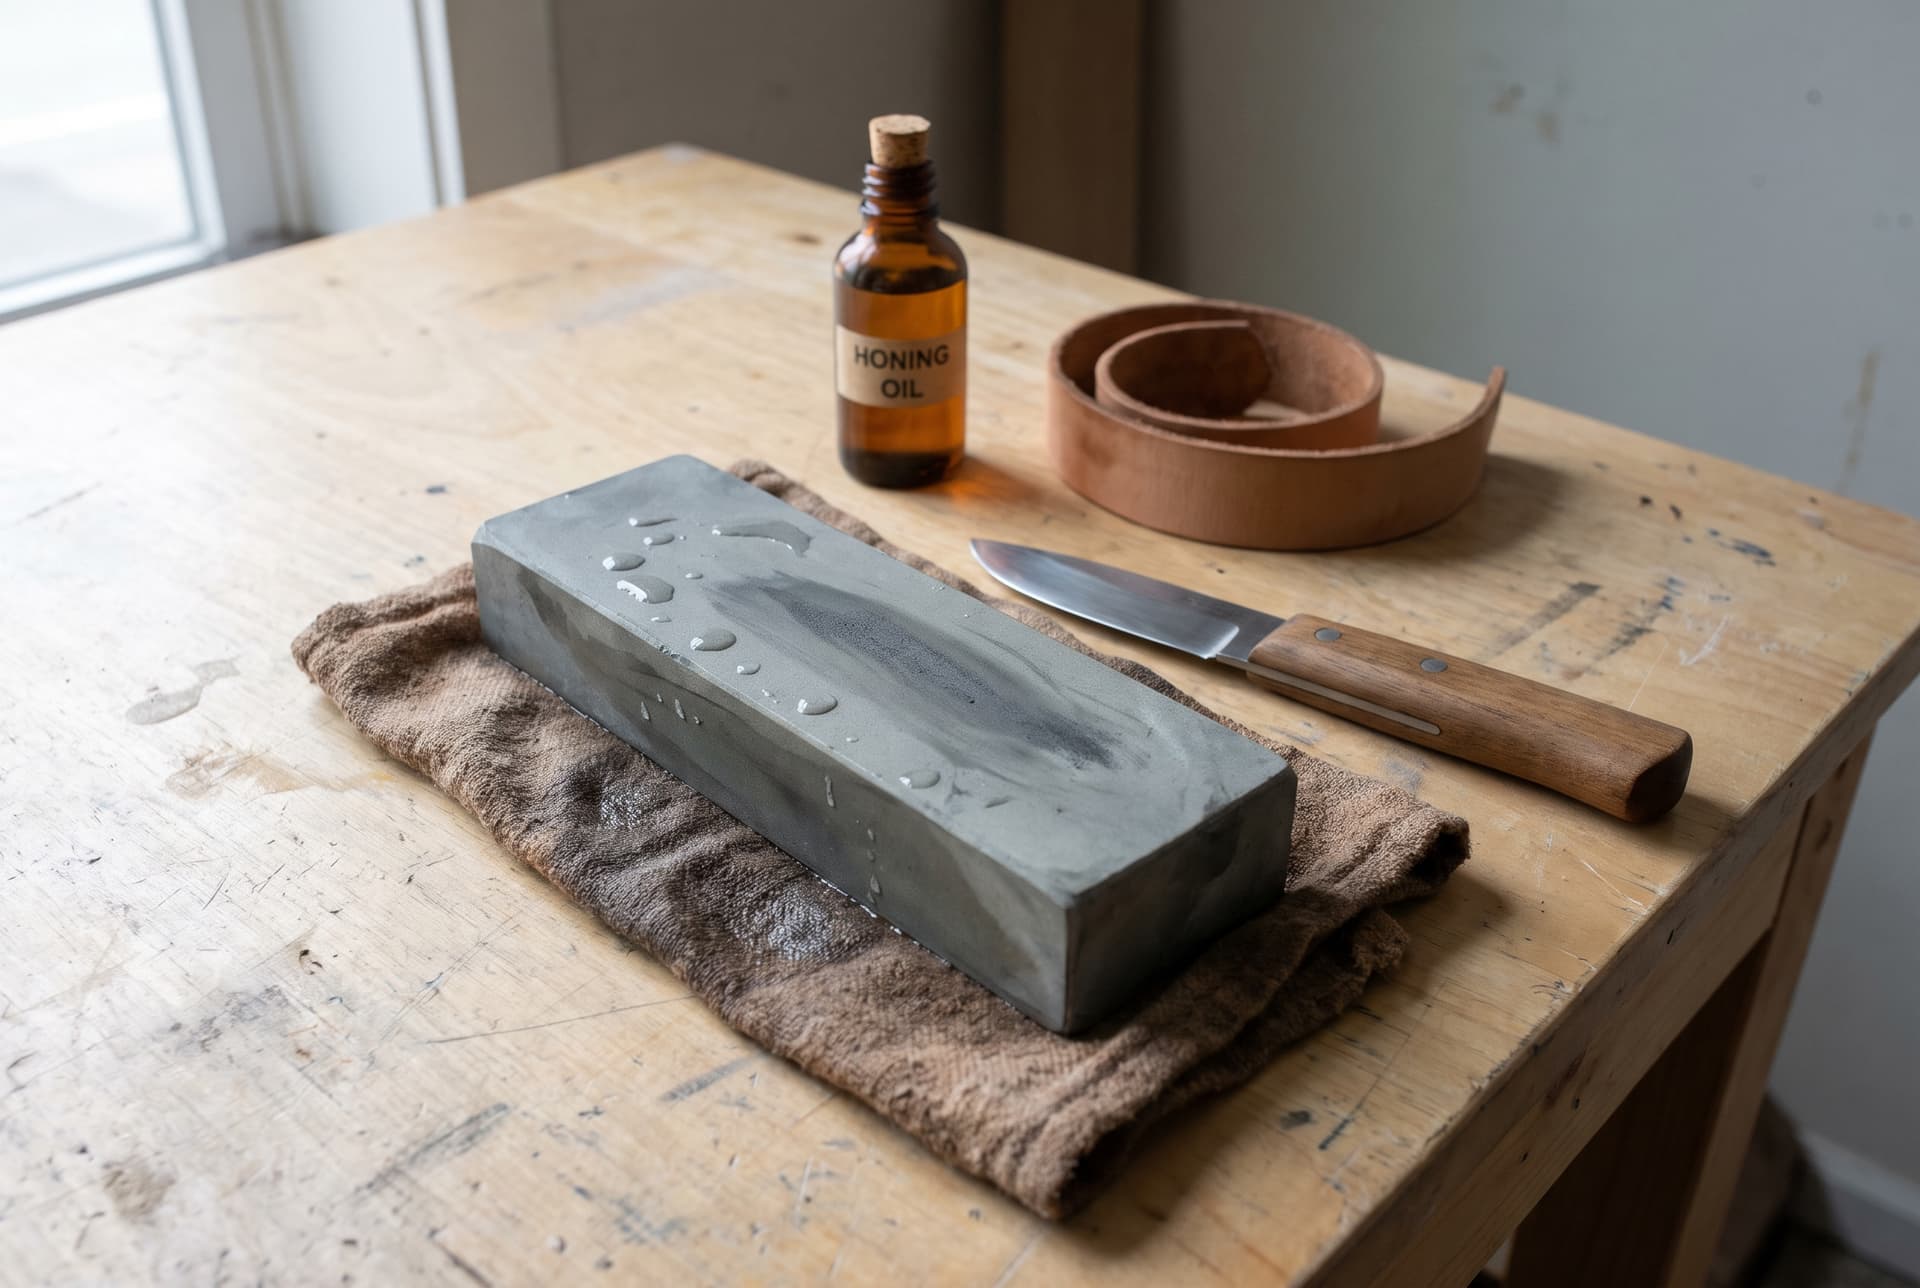
Set the stone on a non-slip mat or a damp cloth so it cannot slide. If it is a water stone, soak or splash it as the maker directs. Diamond and ceramic work dry or with a little water. Work at a height where you can see the bevel clearly.
Start on the coarsest stone the job needs. For a merely dull knife, that is the medium. Lay the bevel flat on the stone at your chosen angle and push the edge forward across the surface, as if slicing a thin layer off the stone. Sweep from heel to tip so every part of the edge passes over the abrasive, including the curve of the belly, which needs the handle lifted as you reach the tip. Use light, even pressure. Pressing hard only makes a bigger burr and more work later.
Keep going on one side until you can feel a burr along the entire length of the edge, from heel to tip. Partial burrs mean partial sharpness. Then flip the knife and repeat on the other side until the burr flips over to the first side. Move to the next finer stone, repeat with lighter pressure, and the burr will become smaller and more fragile each time.
Finish by removing the burr. Alternate single, very light strokes side to side on your finest stone, or strop on leather or the back of a belt, drawing the edge away from the direction of travel. Then test. Draw the blade lightly across a sheet of paper held in the air. Some people also let the edge bite into a thumbnail at low pressure, which needs care and is easy to skip. If it slips or tears instead of catching, the apex is not finished and you go back a step. Wipe the blade, clean the stone and dry both before storage.
Multi-Stone Kits vs Pull-Through Sharpeners
These are not competing products, they are different tools. A multi-stone kit gives you control: the right grit for the damage, a chosen angle, and a finish you decide on. It also asks for time, a stable surface and a bit of practice. The store stocks a five-stone precision kit with fine, medium and coarse alumina-oxide stones, an extra-coarse diamond-coated stone with a hook groove, and an extra-fine ceramic stone for serrated blades, with six preset angle settings, which removes the hardest part for beginners.
A carbide pull-through sharpener gives you speed. Preset V-notches hold the angle for you and a few strokes bring back a cutting edge on a kitchen or camp knife. Carbide shears steel rather than abrading it, so the edge it leaves is coarse and the material loss is real. Two-step designs that follow the carbide with ceramic rods soften that trade by cleaning up the apex afterwards, and the store stocks one with both slots preset at 21 degrees.
A sensible setup is both. Keep stones at home for proper sharpening, and keep a compact pull-through or a small ceramic for the truck, the tackle box or the camp kit, where the goal is a blade that cuts tonight rather than a blade that is beautiful. Reserve the carbide for working blades, and keep it away from thin kitchen knives, serrations and anything expensive.
Weight matters in a pack. A full bench stone is heavy and fragile. For backcountry trips, a small diamond plate or a thin pocket hone carries well, and a strip of leather glued to a stick handles the burr.
Fixed Blades, Hatchets and Other Camp Tools
Big fixed blades are easier to sharpen than folders, not harder. There is more edge to track and nothing to work around, so the usual mistake is simply running out of patience before the burr forms along the whole length. Work in overlapping sections if the blade is longer than the stone, and keep count of strokes per section so one part does not get more attention than another.
Partially serrated blades need a different approach. The plain section sharpens normally. The serrations are sharpened one scallop at a time, usually from the ground side only, with a tapered ceramic or diamond rod that fits the scallop. Remove the burr from the flat back of the blade with one light pass across a flat stone. Do not drag a serrated knife through a carbide V.
Hatchets and axes are usually worked with a file for repair and a puck or coarse stone for the edge, with the tool secured and the strokes moving away from your body. The edge angle is steeper than a knife because the edge survives impact. Follow the existing curved bevel rather than flattening it, and stop as soon as a burr shows, since removing too much steel from a convex axe edge makes it stick in wood.
Plain carbon steels such as the 1095 used in some small fixed blades take an edge quickly and rust quickly, so dry and oil them after sharpening. Hard stainless and powder steels hold an edge far longer but take longer to sharpen, and this is where a diamond stone earns its place.
Care, Storage and When to Resharpen
Clean stones after use. Water stones rinse and air dry, then store dry, since water left in a soaking stone can freeze and crack it in cold storage. Oil stones get wiped and occasionally cleaned with fresh oil to lift the loaded swarf. Diamond plates rinse clean and should be dried before they go away, and they do not want heavy pressure. Ceramic loads up with grey metal over time and comes clean with a scouring pad, water and dish soap, or whatever the stone maker advises.
Bonded stones wear hollow in the middle because that is where you work. A hollow stone rounds the edge you are trying to flatten. Flatten them on a diamond plate or flattening stone when the dip becomes visible under a straight edge. Store stones where they cannot be dropped, since a cracked stone is usually finished.
Resharpen on condition, not schedule. Touch up with a ceramic or strop when the knife starts pushing instead of biting. Go to the medium stone when touching up no longer brings it back. Go coarse only when there is damage to remove. A knife that gets a dozen strokes on a fine stone every few weeks of use may never need a coarse stone at all.
Most edges die in storage and transit, not in use. A blade rattling loose in a drawer or a pack gets its apex knocked flat against other metal. Sheath it, separate it, and the sharpening you did last month is still there next month.
Sharpeners and stones
Stone kits and carbide sharpeners the store carries for knives, scissors and camp tools.
Fixed blades worth keeping sharp
Camp, hunting and utility fixed blades in carbon, tool and stainless steels.
Folders and multi-tools
Pocket knives and a multi-tool that all benefit from a few minutes on a stone.
Common questions
- What sharpening stone grit should I start with?
- A medium grit is the one to own first. It forms a new apex on a normally dull knife in a reasonable number of strokes and leaves a finish that cuts well. Add a coarse stone when you need to repair chips or reset a bevel, and a fine stone or ceramic when you want a cleaner finish and easier burr removal.
- Is a whetstone better than a carbide pull-through sharpener?
- They do different jobs. A stone gives you control over angle, grit and finish, and removes only the steel you choose. A carbide pull-through gives you a working edge in seconds with no technique, but shears off more metal and leaves a coarser edge. Many people keep stones at home and a pull-through in the camp or truck kit.
- How do I know what angle my knife was sharpened at?
- Colour the bevel with a marker, take two or three light strokes on the stone, then look at the ink. Ink removed evenly across the whole bevel means you have matched the existing angle. Ink gone only at the shoulder means you are too shallow, and ink gone only at the very edge means you are too steep.
- What is a burr and why does it matter?
- A burr is a thin wire of displaced steel that folds to the far side of the edge once you have ground all the way to the apex. Feeling a burr along the full length of one side is proof the edge is formed there. Raise it on one side, raise it on the other, then remove it with light strokes on finer grit or a strop.
- Do I need water or oil on the stone?
- It depends on the stone. Water stones need soaking or splashing, oil stones need honing oil, and both use the liquid to carry away swarf so the surface does not clog. Diamond and ceramic work dry or with a splash of water. Follow the maker's instruction for the stone you have, and do not put oil on a stone meant for water.
- Can I sharpen a serrated blade on a flat stone?
- Only partly. The plain section of a partially serrated blade sharpens normally. The serrations need a tapered ceramic or diamond rod worked scallop by scallop, usually from the ground side, with one light pass on a flat stone to clear the burr from the flat back. Avoid pulling serrated blades through a carbide V.
Sources
- Abrasive grit sizing is defined by separate standards bodies, including FEPA (European) and JIS (Japanese Industrial Standards), which use different particle size designations.
- AccuSharp 5-Stone Precision Kit 059C 6-Angle Knife Sharpener product description, store catalog.
- AccuSharp 2-Step Carbide-Ceramic Knife Sharpener 345C product description, store catalog.
- 1095 is a plain high-carbon steel with minimal chromium content, so it offers no meaningful corrosion resistance; referenced in KA-BAR and Stroup Knives product descriptions in the store catalog.