 The Prep Bible.
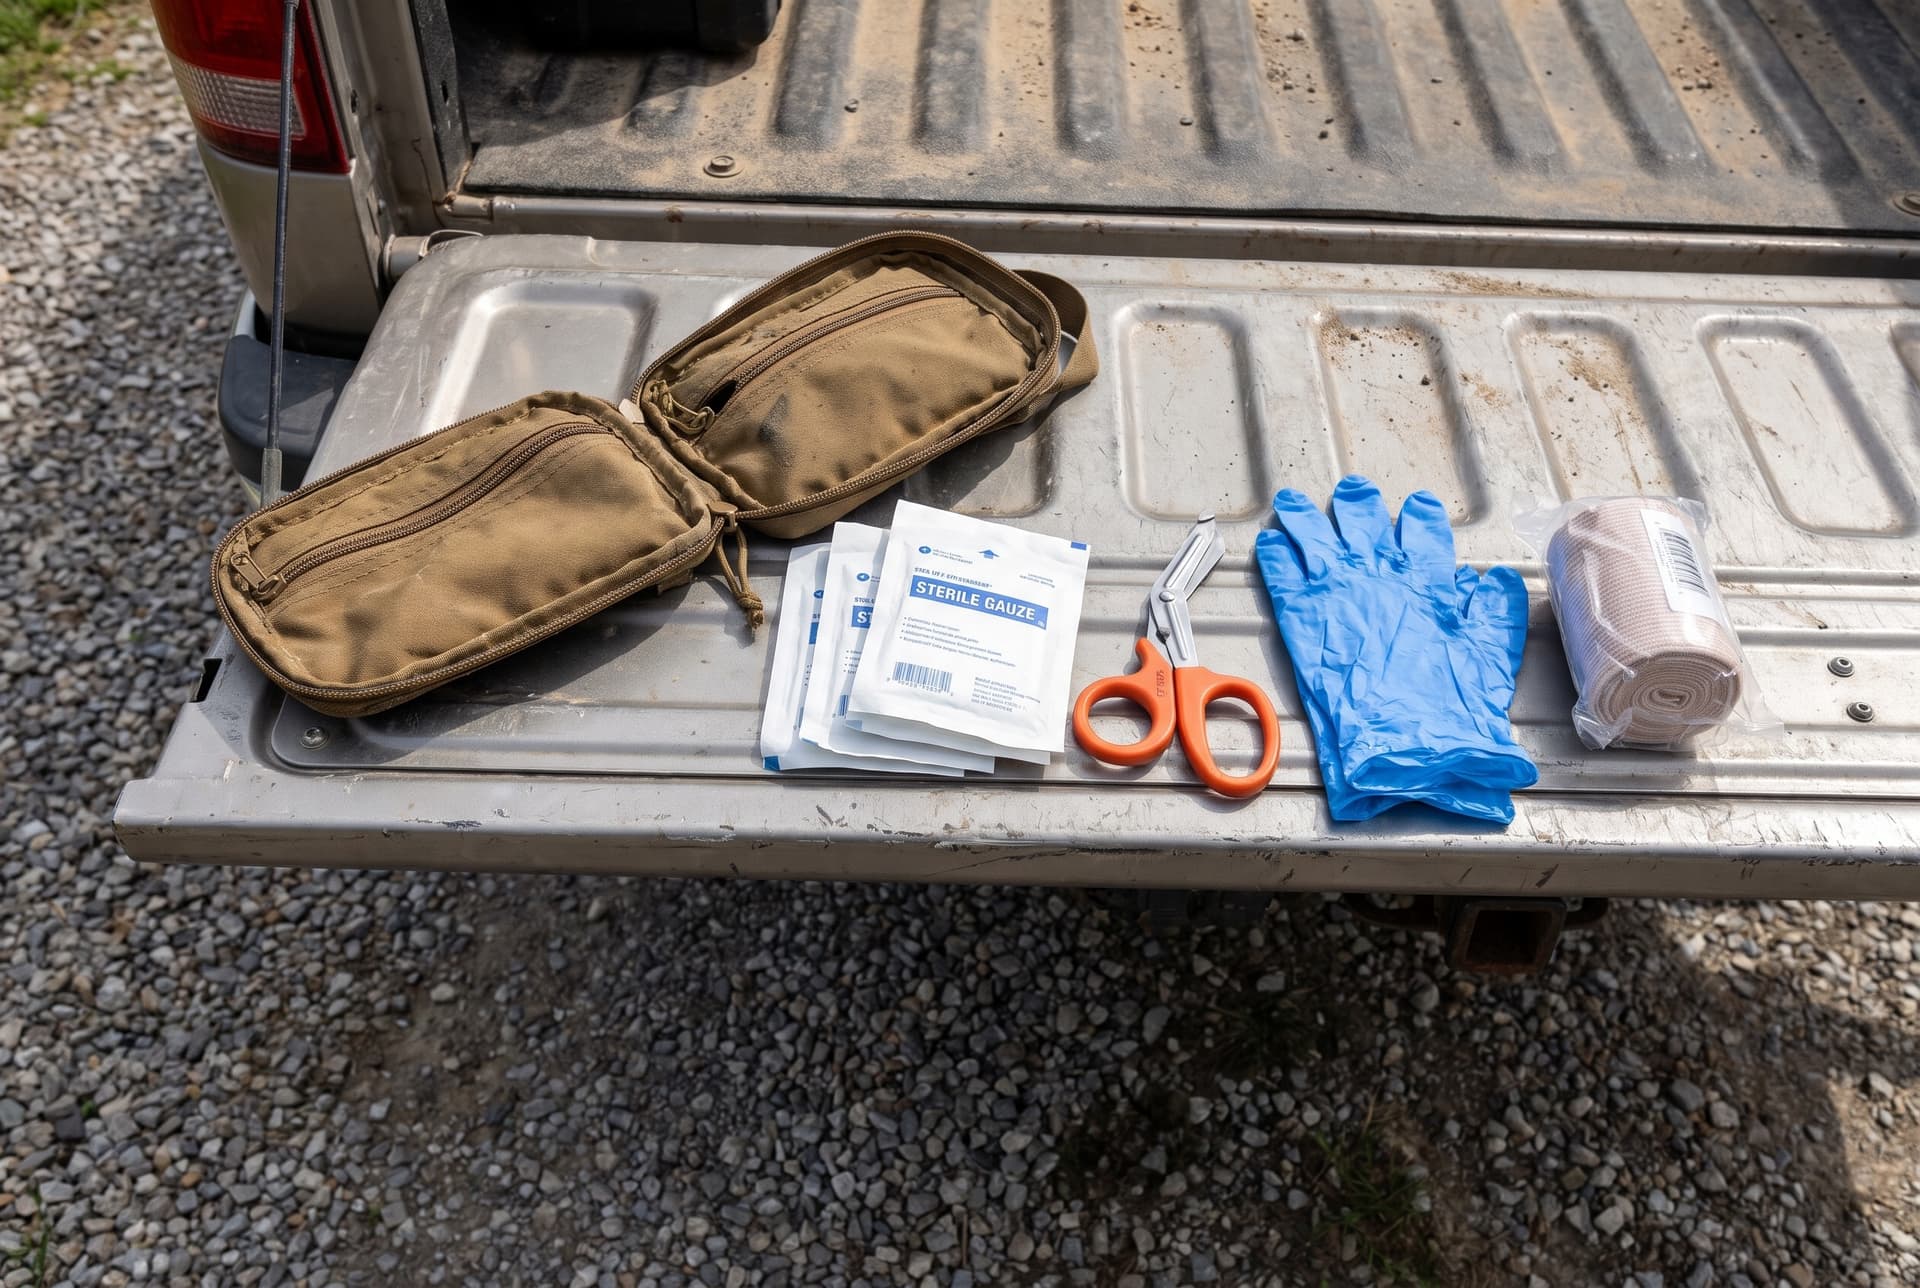
IFAK Pouches: Pre-Made Kit vs Building Your Own
Buy a pre-made IFAK if you want a working kit today and you have not yet been trained on the contents. Build your own if you have taken a bleeding control or wilderness first aid course, you know which items you can actually use, and you want a specific pouch, a specific layout and brands you trust. Most people end up doing both: a pre-made kit first, then a rebuild once training shows them what they reach for.
An IFAK, or individual first aid kit, is a small pouch of trauma supplies meant to treat one person: you. It is not a family medicine chest and it is not a boo-boo kit. It lives on a belt, a pack strap or in a vehicle, and it holds the handful of things that matter when bleeding is serious and help is not close.
This guide covers what belongs in a basic kit, the honest trade-offs between buying and building, how to pick the pouch itself, where to carry it, and how to keep it in date. It is general preparedness information. It is not medical instruction, and no pouch replaces hands-on training from a recognised provider.
What an IFAK is actually for
An IFAK is a single-casualty trauma kit. The job is to buy time on injuries that get worse fast, mainly serious external bleeding, while somebody calls for help and transport is arranged. Everything in it should serve that job or support it directly.
The second thing to understand is whose kit it is. The convention in trauma training is that your IFAK is for treating you, with your supplies, often by somebody else who finds it on your body. That is why placement and consistency matter so much, and why a kit buried in the bottom of a pack is close to useless.
A separate boo-boo kit handles blisters, splinters, headaches, small cuts and the tape and antiseptic that go with them. Keep that gear in a different pouch or a different pocket. Mixing the two means digging through moleskin when you need the thing at the top of the kit, and it means you tear open a sealed trauma pouch for a hangnail and leave it half empty.
If you are the sort of person who goes out alone, works with saws, chains, blades or machinery, drives long rural miles, or spends time well past the end of an ambulance response, an IFAK earns its space. If you never leave town, it still earns its space, because road collisions and workshop accidents do not care where you live.
Core contents of a basic IFAK
A workable trauma kit is short. The common core is a tourniquet, a pressure dressing, a wound-packing gauze, gloves, a chest seal, trauma shears and tape. Some kits add a nasopharyngeal airway, a space blanket and a marker. That is close to the whole conversation.
Each item has a reason to be there. The tourniquet handles severe limb bleeding and needs to be a known, proven commercial design rather than an unbranded copy, because counterfeits of popular windlass tourniquets are reported by manufacturers and can fail under load. The pressure dressing, often called an emergency bandage or Israeli bandage, applies and holds direct pressure. Hemostatic or plain gauze is standard kit content, and a Stop the Bleed or equivalent course will teach you how to use it. Nitrile gloves protect you and the patient. A chest seal is standard kit content, and sealed pairs are usual. A course will teach you when and how to use one. Trauma shears cut clothing and webbing so you can see what you are treating.
A few things that look useful and mostly are not: oversized bandage assortments, tiny alcohol wipes by the dozen, and a single tourniquet packed inside a sealed vacuum bag you cannot open one-handed. Buy depth in the things that stop bleeding and trim the rest.
Do not buy an item you have not been trained to use. An airway adjunct in the hands of an untrained person is dead weight at best. Build the kit around your current training, then add as your training grows.
Pre-made kits: what you gain and what you give up
A pre-made IFAK is bought as one sealed unit: pouch, contents and layout already decided. The gain is speed and completeness. You get a kit that works on day one, with nothing forgotten. For a vehicle kit, a loaner kit, or a first kit while you are still booking a course, that is a good trade.
What you give up is control. You may get a tourniquet brand you did not choose, gauze you would not have picked, and a pouch that does not match your belt or pack. Kits from sellers you cannot verify are a risk for counterfeit tourniquets, so the provenance of that one item deserves a hard look before you trust it.
The other weak point is the layout. Some pre-made kits are packed to look full in a photograph rather than to come out fast in the dark. Open a new kit, lay everything on a table, then repack it the way you want to find it. Treat the factory packing as a starting suggestion.
Pre-made kits also tend to be the practical choice when you need several identical ones: one per vehicle, one per range bag, one by the workshop door. Sameness is a feature. Anybody who finds the kit knows where the tourniquet lives.
Building your own: what you gain and what you give up
A DIY IFAK means you choose every item and the pouch that holds it. The gain is fit. You buy the tourniquet you trained on, the dressing you have practised with, the pouch that matches your belt or pack system, and nothing else. Kits built this way are usually slimmer, because every item had to justify its space to somebody who knows the contents.
You also get sourcing control. Buying trauma items individually from reputable suppliers lets you check brands, lot numbers and expiry dates before anything goes in the pouch. That is harder with a sealed kit where you only see the contents after it arrives.
What you give up is money and time. You will spend an evening researching items and another repacking until it closes properly. There is also a real risk of a gap: a build done from a blog list, without training, can end up with three tourniquets and no gloves.
A sensible middle path is a pre-made kit as the base, then swap items as you learn. Replace the tourniquet with the one from your course, add a second pack of gauze, pull out whatever you cannot use. The pouch is rarely the part you need to change first.
Side by side
The table below is a summary of the trade-offs described above, not a scoring system. Either route produces a good kit if the contents are genuine and you know how to use them.
| Factor | Pre-made kit | DIY build |
|---|---|---|
| Time to a usable kit | Immediate | Days to weeks while parts arrive |
| Control over brands | Limited to what the maker chose | Complete |
| Risk of a missing item | Low, the list is fixed | Real, depends on your knowledge |
| Risk of counterfeit tourniquet | Depends entirely on the seller | Manageable, you pick the source |
| Fit to your belt or pack | Hit and miss | Chosen by you |
| Good for multiple identical kits | Yes | Slow and fiddly |
General comparison of the two approaches. No prices or percentages are implied.
Choosing the pouch and where to carry it
The pouch is a delivery system, not storage. Judge it on one question, as a rule of thumb: can somebody who has never seen it get the tourniquet out, with one hand, in the dark, without delay. Features that help are a tear-away or rip-open front, a pull tab that opens the whole kit in one motion, and an insert that comes out as a unit so the contents do not scatter.
Mounting matters next. MOLLE or PALS webbing lets the pouch ride on a plate carrier, pack or vehicle panel. A belt loop or clip suits everyday carry. A flat zippered pouch suits a glovebox, a console or a pack lid where speed is less critical than packing neatly. Pick the one that matches where the kit will actually live, not the one with the most attachment options.
Materials: a tough fabric shell and a water resistant or welded-seam liner keep gauze dry and labels readable. Sweat, rain and boat spray destroy paper-wrapped dressings faster than time does. A sealed zippered pouch inside a larger bag is a reasonable way to weatherproof a kit that is not on your belt. We stock the Magpul DAKA Window Pouch in Medium and Large, water resistant zippered pouches with RF welded seams and a YKK water resistant zipper.
Carry placement comes down to consistency. Pick one spot and keep it there across every bag and belt you own: centreline on the back of a belt, the same side of every pack, the same door pocket in every vehicle. Mark it so it is obvious from outside. A patch or a strip of bright tape costs nothing and saves the seconds that matter.
Set up your carry system around where the kit will be reachable.
Keeping the kit in date and ready
As a practical habit, set a calendar reminder twice a year and open every kit you own. Check expiry dates on gauze, chest seals and anything with adhesive. Check the tourniquet webbing for fraying, the windlass for cracks, and the whole kit for water staining. Replace anything that looks tired, because trauma gear fails at the worst moment or not at all.
Heat is the main enemy of a vehicle kit. Heat shortens the life of adhesives and rubber items. If a kit lives in a car, expect to cycle its contents more often than a kit that lives indoors, and store it in the cabin rather than against a hot panel where you can.
Write the contents on a card inside the lid, or on the outside of the pouch, so that a stranger knows what is in there without unpacking it. List what is in the kit and nothing about dosing or treatment. Keep a second card with your emergency contact and any allergies if you want to.
Keep a practice tourniquet separate from the one in your kit, clearly marked as a trainer. Practising with your live tourniquet wears it out and leaves you unsure whether the one you are carrying has been stressed.
The training matters more than the kit
A good kit in untrained hands is a bag of unfamiliar packaging. A trained person with a tourniquet and a roll of gauze will do more good than an untrained person with a fully stocked pouch. If you only do one thing after reading this, book a course.
Look for bleeding control training and a recognised first aid or wilderness first aid certification from an established in-person provider such as Stop the Bleed, the public bleeding control programme coordinated by the American College of Surgeons. Hands-on practice with real tourniquets and packing trainers is the point. Online-only courses are a supplement, not a substitute.
Practise with your own kit afterwards. Open it, lay the contents out, time yourself getting the tourniquet clear of the pouch, then repack it the way you want it. Do it again a few months later. The muscle memory of where things sit in your pouch is the part you cannot buy.
Finally, keep expectations honest. An IFAK buys time. Calling for help early, and knowing how long help will take where you are, is part of the same plan as owning the pouch.
Weather resistant pouches for kit building
Sealed zippered pouches that work as liners or organisers inside a larger bag.
Lighting for working in the dark
You cannot treat what you cannot see, and red light preserves night vision.
Common questions
- What does IFAK stand for?
- Individual first aid kit. It is a small trauma kit intended to treat one person, usually the person carrying it, and usually with a focus on serious bleeding. It is different from a general first aid kit, which covers minor injuries and everyday ailments for a group, and different again from a family medical kit kept at home.
- Is a pre-made IFAK worth buying, or should I build one?
- Buy pre-made if you want a working kit now, need several identical kits, or have not yet done bleeding control training. Build your own once training has shown you which items you can actually use and which brands you trust. Many people buy a kit first and swap items out over time, which is a reasonable path.
- What should go in a basic IFAK?
- The common core is a tourniquet, a pressure dressing, wound-packing gauze, nitrile gloves, chest seals, trauma shears and tape. Some kits add a space blanket and a marker. Only carry items you have been trained to use. Keep blister care, painkillers and small plasters in a separate kit so the trauma pouch stays simple.
- Where should I carry an IFAK pouch?
- Somewhere consistent and reachable with either hand. Common spots are the back centreline of a belt, a fixed position on a pack, or the same door pocket in every vehicle. Mark the outside so a stranger can find it.
- How often should I check and replace IFAK contents?
- Open every kit twice a year. Check expiry dates on gauze, chest seals and anything with adhesive, inspect the tourniquet webbing and windlass for wear, and look for water damage. Kits kept in vehicles need checking more often, because heat degrades adhesives and rubber faster than storage indoors.
- How do I avoid a counterfeit tourniquet?
- Buy from a reputable supplier rather than a general marketplace listing with no named brand. Counterfeits of popular windlass designs are common and can fail under load. Check the packaging, markings and lot information against the manufacturer's own description, and keep a separate, clearly marked trainer so you never practise with the one you carry.
Sources
- Common convention in tactical and wilderness casualty care training, as taught in Stop the Bleed and TCCC-derived civilian courses.
- Manufacturer and Committee on Tactical Combat Casualty Care warnings about counterfeit CAT-style tourniquets sold through online marketplaces.
- Stop the Bleed, a public bleeding control training programme coordinated by the American College of Surgeons.