 The Prep Bible.
How to Sharpen a Folding Knife: A Step by Step Guide
Sharpening a folding knife comes down to four things: pick an angle, hold that same angle on every stroke, grind until a burr forms along the whole edge, then remove the burr and finish. Most folders that will not take an edge are not worn out or made of bad steel. They have been sharpened at a different angle every time, so the stone never reaches the actual cutting edge.
This guide walks through reading your blade, choosing between a stone, a rod and a guided system, setting the angle, working both sides, feeling for the burr and stropping it clean. It also covers what to do about pivot grit, partially serrated blades and knives that use replaceable blades instead of sharpening.
Nothing here needs a workshop. A flat stone, a bit of light, a steady surface and twenty quiet minutes will bring back almost any folder in your pocket.
Why folding knives go dull faster than you expect
A folder lives in a pocket, which is a dirty place. Lint, grit and pocket dust work into the pivot and onto the blade, and every time you close the knife on an unwiped blade you drag that grit across the edge. Add tape, cardboard, zip ties and plastic packaging, which are all abrasive, and the edge rolls or wears long before the steel is really used up.
The second reason is thinner stock. A pocket folder is ground thin so it slices well and carries light. Thin edges cut beautifully and give up their keenness sooner than a thick camp knife, especially when they get twisted sideways in a cut or used as a scraper.
The third reason is the sharpener. Each freehand session at a slightly different angle leaves a new bevel behind the old one. The edge itself goes untouched while the shoulder of the bevel gets rounder, so the knife feels worse after every sharpening. Fixing that is mostly a matter of picking one angle and sticking to it.
Read your blade before you touch a stone
Look at the edge in good light, with the cutting edge pointed up at a lamp or a window. A sharp edge is so thin it reflects nothing. A dull edge, a rolled spot or a chip catches the light and shows as a bright line or a bright dot. That bright line tells you exactly which parts of the blade need work and which are still fine.
Next, look at the edge bevel, the narrow polished band running along the cutting edge. On most factory folders it is clearly visible and roughly even in width from heel to tip. If the bevel is wide in one place and vanishes in another, the knife has been sharpened unevenly and you will need a few extra passes in the thin spots to even it out.
Then note the grind, which is how the blade is thinned from spine to edge. A hollow grind is dished and feels concave under a fingertip. A flat grind tapers straight. The grind does not change how you sharpen the edge bevel, but a hollow grind gets thinner behind the edge as you sharpen deeper, which is why those blades feel like they get keener over time.
Finally, check whether the blade is partly serrated and whether it is a replaceable blade design. Serrations need a tapered rod, not a flat stone. Replaceable blade folders such as the Outdoor Edge Razor series are meant to have the blade swapped rather than sharpened.
What angle to sharpen a folding knife
For a general use pocket folder, somewhere in the high teens to low twenties of degrees per side is the sensible working range. The exact number matters far less than consistency. An edge ground at a steady 20 degrees per side will outcut an edge wobbled between 15 and 25.
If the knife came with a factory edge you were happy with, match that bevel rather than inventing a new one. Lay the blade flat on the stone, tip the spine up until the bevel sits flush, and look at where the ink goes if you blacken the bevel with a marker first. The marker trick is the most reliable way to find an existing angle: colour the bevel, take two light strokes, then look. Ink gone at the very edge means you are too low and riding the shoulder. Ink gone only at the shoulder means you are too steep. Ink gone evenly across the whole bevel means you have it.
Lower angles slice better and chip more easily. Higher angles resist damage and feel less keen in soft materials. A knife that opens boxes and cuts cord all week usually wants a slightly steeper, more durable edge than a knife used for food prep on a kitchen counter.
Two shortcuts help if you cannot judge angles by eye. A folded piece of paper gives a reference wedge, and carbide or ceramic pull-through sharpeners come with the angle preset, so you only have to hold the blade upright. The AccuSharp 2-Step carbide and ceramic sharpener in the catalog is preset at 21 degrees, which lands squarely in that working range.
| How the knife is used | Edge character to aim for | Trade-off |
|---|---|---|
| Food prep, light slicing, fine work | Keener, lower angle per side | Edge rolls or chips sooner on hard material |
| General everyday carry, cord, cardboard, tape | Mid range, matched to the factory bevel | Good all round compromise |
| Hard use, prying-adjacent tasks, wood and staples | Steeper, more supported edge | Slices less aggressively, lasts longer between touch-ups |
Guidance on relative behaviour, not fixed numbers. Match the factory bevel unless you have a reason to change it.
Choosing a method: stone, rod or guided system
A flat sharpening stone is the method everything else is measured against. It removes metal quickly, reshapes a damaged edge, and works on any blade shape. It also demands the most skill, because you are holding the angle yourself. Stones come as oil stones, water stones, diamond plates and ceramics. Diamond plates cut hard modern steels well and stay flat, which matters on a small folder where the stone wears unevenly under a short blade.
A sharpening rod, ceramic or steel, is a maintenance tool rather than a sharpening tool. Rods realign and lightly refresh an edge that is still mostly there. They are quick, they fit in a pack, and they are the right answer for a touch-up at camp. A ceramic rod with a tapered tip is also the only sensible way to get into serrations, one scallop at a time.
A guided system clamps the blade or fixes the stone at a set angle so every stroke lands the same. Multi-stone kits with angle guides, like the AccuSharp 5-Stone Precision Kit in the catalog, trade portability for repeatability. If your freehand results have been inconsistent, a guided setup teaches your hands what the correct angle feels like, which then carries over to freehand work.
Pull-through sharpeners with carbide and ceramic slots sit at the convenient end. Carbide slots scrape metal off fast, so use them sparingly and finish in the ceramic slot. They are good for a beater work knife and less suited to a blade you care about, because they remove more steel than a stone does for the same result.
Step by step: setting and holding the angle
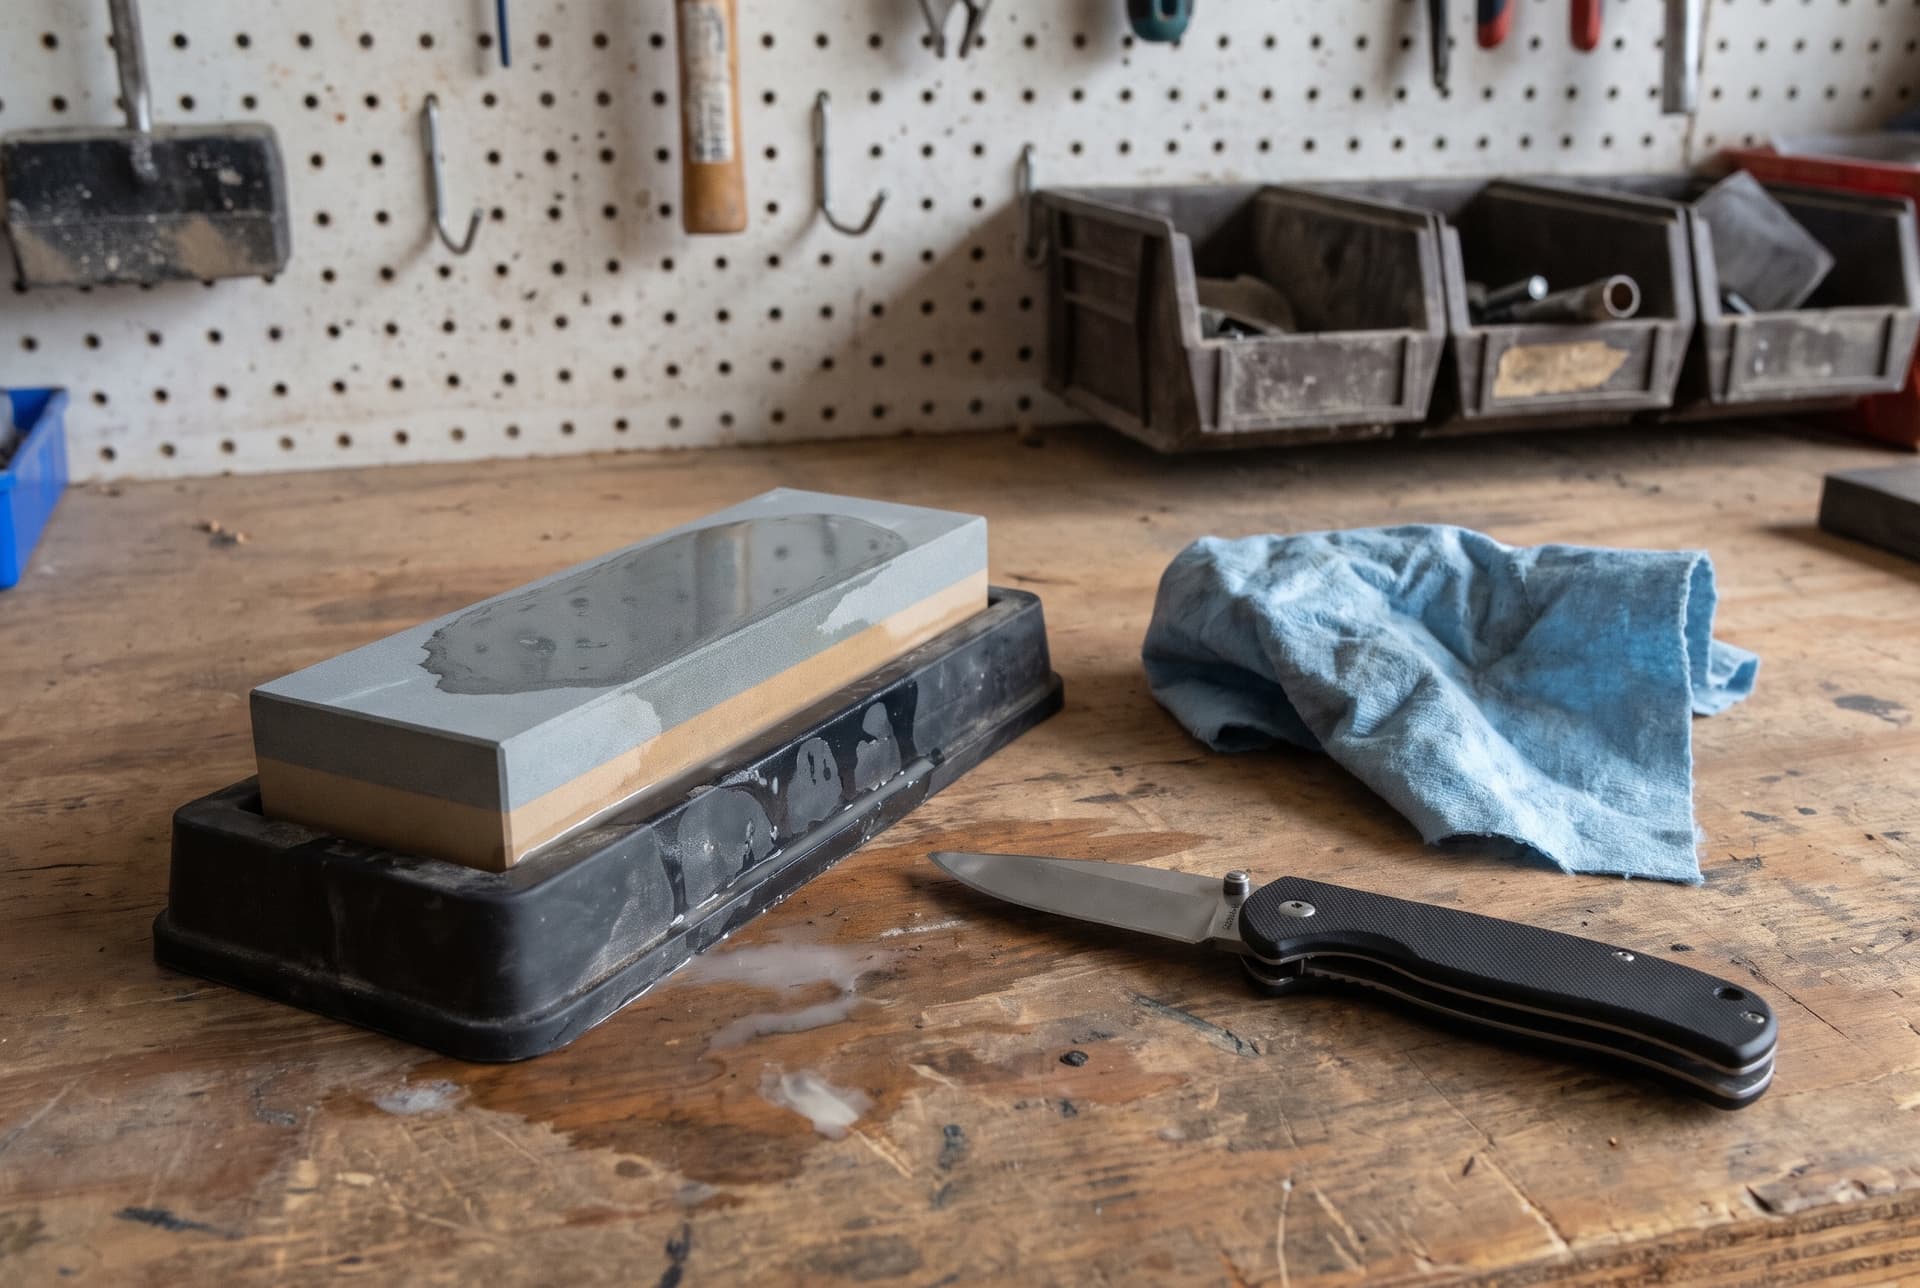
Set up first. Put the stone on a damp cloth or a rubber mat so it cannot slide, at a height where your forearms are supported. Sit down if you can. Light matters more than most people expect, so work where you can tip the edge up and look at it between passes. Lubricate the stone according to its type: water stones get water, oil stones get honing oil, diamond plates run with water or dry, ceramics run dry or with water.
Open the folder fully and make sure the lock is engaged. Check it by pressing the spine lightly against the bench. A lock that slips while your fingers are near the edge is the main injury risk in this whole job, so if the lock feels soft, sort the knife out before sharpening it.
Colour the bevel with a marker. Place the edge on the stone near the heel, tip the spine up until the bevel sits flat, and lock your wrist. The angle is held by your shoulder and elbow, not your wrist. Take two passes, then check the ink and adjust.
Now work. Push the blade along the stone as if you were trying to shave a thin slice off the surface, edge leading, and sweep the knife across so the stone travels from the heel of the edge to the tip. On a curved belly or an upswept tip, raise the handle slightly at the end of the stroke so the curve stays in contact. Count your strokes. Counting is how you keep both sides even.
Pressure, passes and the burr
The burr is the proof that you have sharpened. It is a thin wire of displaced steel that forms on the far side of the edge when the stone has finally reached the apex. Until you raise one, you are polishing the bevel and not sharpening the knife.
Work one side until you can feel the burr along the whole length. Find it by sliding a fingertip off the edge, from spine towards edge and away, never along it. The burr catches like a faint snag. Check at the heel, the middle and the tip, because the tip is usually the last place it appears. Then swap sides and repeat with the same number of strokes until the burr flips over to the other side.
Pressure should start moderate and end light. Heavy pressure on a coarse stone is for repairing a chipped or badly rounded edge. Once the burr is up, drop to the weight of the blade itself. Hard pressure at the finishing stage just creates a bigger, more stubborn burr that tears off raggedly and leaves a weak edge.
Move up through your grits. Coarse to set the bevel, medium to clean it, fine to refine it. Each new grit only needs to remove the scratches left by the last one. With a folder, a fine stone finish cuts cord and cardboard very well, and you do not need a mirror polish unless you want one.
Stropping and finishing the edge
The last job is getting rid of the burr without tearing it off. Alternate single light strokes, one per side, at your sharpening angle, with almost no pressure. The burr gets thinner and smaller each time until it breaks away cleanly or is reduced to nothing.
Then strop. A strop is a strip of leather, or even the back of a notebook cover or a piece of cardboard, worked edge trailing. Lay the bevel flat, drag the blade backwards away from the edge, and alternate sides. Edge trailing is the whole point: pushing an edge into leather will cut the strop and round the apex. A dozen light passes per side is usually plenty.
Test honestly. Slice a sheet of printer paper held at the top, starting near the heel and running out to the tip. A properly finished edge bites instantly and slices clean the whole way. If it catches or skates in one spot, that section did not get a burr. Go back to the fine stone, work that area, and recheck.
The old trick of shaving arm hair tells you the apex is keen but not whether the edge is even along its length. Paper tells you both. Do not test an edge with your thumb across it.
Keeping a folder sharp between sharpenings
Touch up early. A knife that gets ten light strokes on a ceramic rod every couple of weeks almost never needs a full session on a coarse stone. Once you let an edge get properly dull, you are removing far more steel to get it back, and the knife loses blade height over its life.
Clean the pivot. Grit in a folder's pivot does two things: it grinds the washers and it rides onto the edge every time the blade closes. Flush the pivot with warm soapy water or a solvent made for the job, blow or shake it dry, then put a drop of light oil on the pivot and work the blade open and closed. Wipe the blade before you fold it, every time.
Dry the blade and dry the pocket. Stainless folder steels resist rust, they do not ignore it. Sweat, salt water and damp sheaths will pit a blade, and pitting right at the edge means grinding past it later. A light film of oil on the blade is enough for storage.
Store folders so edges do not touch other metal. A drawer full of loose knives is a drawer full of dinged edges. Separate slots, a roll, or just a wipe and a dedicated pocket does the job.
Two special cases. Partially serrated blades, like several of the SOG and Smith & Wesson folders in the catalog, need a tapered ceramic rod worked into each scallop from the ground side, with the flat back of the blade only deburred lightly on a flat stone. Replaceable blade folders, like the Outdoor Edge Razor and Onyx models, are designed so you swap in a fresh blade instead of sharpening at all.
Sharpening kit
Stones, guided kits and pull-through sharpeners for keeping a folder's edge honest.
Easy-to-sharpen plain edge folders
Plain edge drop point and clip point folders in mainstream stainless steels that come back fast on a stone.
Harder steels for longer edge holding
D2, MagnaCut and S30V folders that sharpen less often and reward diamond abrasives.
Common questions
- What angle should I sharpen a folding knife at?
- Somewhere in the high teens to low twenties of degrees per side suits most pocket folders, but consistency matters more than the exact figure. The simplest approach is to match the factory bevel: blacken it with a marker, take two strokes, and adjust until the ink wears off evenly across the whole bevel rather than only at the edge or only at the shoulder.
- How do I sharpen a pocket knife with a stone?
- Secure the stone, lubricate it per its type, open and lock the blade, then set the bevel flat on the stone. Push edge-first along the stone while sweeping heel to tip, keeping your wrist locked. Work one side until a burr forms along the whole edge, match the stroke count on the other side, move up through finer grits, then alternate light strokes and strop.
- How do I know when the knife is actually sharp?
- Two checks. First, feel for a burr along the entire edge after grinding one side, sliding a fingertip off the edge rather than along it. Second, after finishing, slice printer paper from heel to tip. A clean, instant bite the whole way means the edge is even. A spot that catches or skates is a spot that never apexed.
- Can I sharpen a serrated or partially serrated folder?
- Yes, with a tapered ceramic rod rather than a flat stone. Work each scallop individually from the ground side, matching the rod diameter to the scallop, then lightly deburr the flat back of the blade on a fine stone. Never try to grind serrations flat on a bench stone, as it destroys the pattern.
- Are pull-through sharpeners bad for a knife?
- They are fast and they remove more steel than a stone does for the same result, particularly the carbide slots. For a work knife you want sharp in thirty seconds, they are fine. Use the carbide slot sparingly, finish in the ceramic slot, and keep a stone or guided system for blades you want to last decades.
- Why does my knife get duller every time I sharpen it?
- Almost always a changing angle. Each session at a new angle grinds a fresh bevel behind the old apex, rounding the shoulder while never reaching the edge itself. Use the marker trick to find and hold one angle, and keep grinding until you raise a burr along the full length. The burr is the proof you reached the apex.
Sources
- Product description, AccuSharp 2-Step Carbide-Ceramic Knife Sharpener 345C, store catalog listing
- Product descriptions, Kershaw Monitor 2041 and Kershaw Iridium 2038RBLK, store catalog listings
- Product description, Kershaw Bonneville 6000, store catalog listing
- Product description, Kershaw Bel Air XL 6110BLK, store catalog listing
- Product description, SOG Sideswipe SW1011-CP, store catalog listing
- Product descriptions, Outdoor Edge Razor VX2, Razor XD4 and Onyx EDC, store catalog listings
- Product description, AccuSharp 5-Stone Precision Kit 059C 6-Angle Knife Sharpener, store catalog listing